
Equipment and seeds
- Seeds/seedlings for:
- 18 seeds - Climbing green beans “cobra” variety - Phaseolus vulgaris "cobra"
- 20 (or 40) seeds - Swiss Chard “rhubarb” variety - Beta vulgaris subsp. cicla var. flavescens "rhubarb"
- 160 seeds - Radish “cherry belle” variety - Raphanus sativus "cherry belle"
It is also worth keeping a few extra seeds for spares in case of germination failure.
If these varieties are not available in your country, please choose closely related varieties of the same species. If you're not sure what to substitute, please ask us.
- 18 garden canes to support the beans (at least 1.8 metres high)
- Scales to weigh harvests
- Recording sheets and pencil/pen for observations on the plot (to upload when home)
- Gardening tools for preparing the soil, planting seeds, cutting your harvest and watering if you need to.
A good growing site
Already have a growing space? Just prepare it for planting in your usual way. Skip to the Plot Layout section.
If you’re starting a new growing space, you’ll need to find somewhere that:
- Gets enough light through the day. A simple way to check is to take photos at 2-4 hour intervals on a sunny day and see how much shadow falls in your potential plot. The more sun, the better your veg will grow.. If it's shady more than half the day then another site would be better.
- Isn’t waterlogged. The “squeeze and sniff” test is a simple way to find a good site - see page 6 "preliminary tests" of the Soil Handbook. If there’s been a prolonged dry spell, try to avoid low-lying, heavily cracked ground. This might be a spot that’s prone to flooding after rain.
If you don’t have a space of your own, maybe there’s a community plot you might join and inspire to participate in this experiment? Perhaps a friend or neighbour has a bit of space they’d like to be productive? Or maybe there’s an old flowerbed your council is no longer able to look after that you could revive?
To prepare your space for growing food, you’ll need to ensure all four plots are free of weeds that would compete with your crops.
Plot layout and planting
We will grow in four plots. Each plot should be separated from the others and other tall plants by at least 50 cm. Positioning your plots along the edge of a bed, next to mown grass, or beside a path can help achieve this without taking up too much growing space.
Ideally, each plot should receive a similar amount of light, be on the same sort of slope (or flat), and have a similar soil type.
- Polyculture (all three crops) – 1 metre by 1 metre
- Beans – 1 metre by 50 cm
- Swiss chard – 1 metre by 30 cm
- Radish – 1 metre by 20 cm
Soil texture test.
Do you have sandy soil? Nice loam? Heavy clay? Not sure? You can find out how to use a simple but effective touch test to find out. Ideally, the soil sample for the texture test should be done from mineral soils i.e. below your organic soils. You just need a trowel full. If you can dig down that far, then take soil from 15 cm down.
If your plots are similar, do one test for the site. If you think they are different (texture can vary over just 50 cm) then do one test for each plot. It's quick and fun and, as an added bonus, you will recieve some tailored info for growing in your soil texture when you enter your results into your personalised data entry sheet [also coming soon - make sure you're signed up!].
TOP PLOT TIP = Treat your plots the same way
It doesn’t matter if how you grow is different to how other Experimenters grow; just do the same thing in each of your plots.
Prepare the ground in the same way. Water them at the same time. Add the same proportion of water or compost or fertiliser (e.g. half as much in the bean plot as in the polyculture since it’s half the size).
If the only difference between the plots is what is growing in them, then you can be really sure that the results you see are due to the polyculture or monoculture set-up.
Crop layout
To be able to successfully compare our plots with each other's and to contribute to the wider knoweldge, we each need to plant the same seed varieties in the same way. Designing a polyculture-monoculture comparison is a careful balance between the total number of each plant and the overall density of plants. In this experiment, we will grow the same number of plants in the polyculture and monoculture. The spacings are based on monoculture recommendations, plant requirements and growth patterns and tolerances to shade.
Below is the planting guidance with an example of how to layout the plots and the crops within them. You can locate your plots however best fits into your space - just check each plot size and the minimum space between them is right.
Plant the crops at the times that best suit your climate. You can use the poles to mark space for the beans and plant the radish and chard earlier, for example.
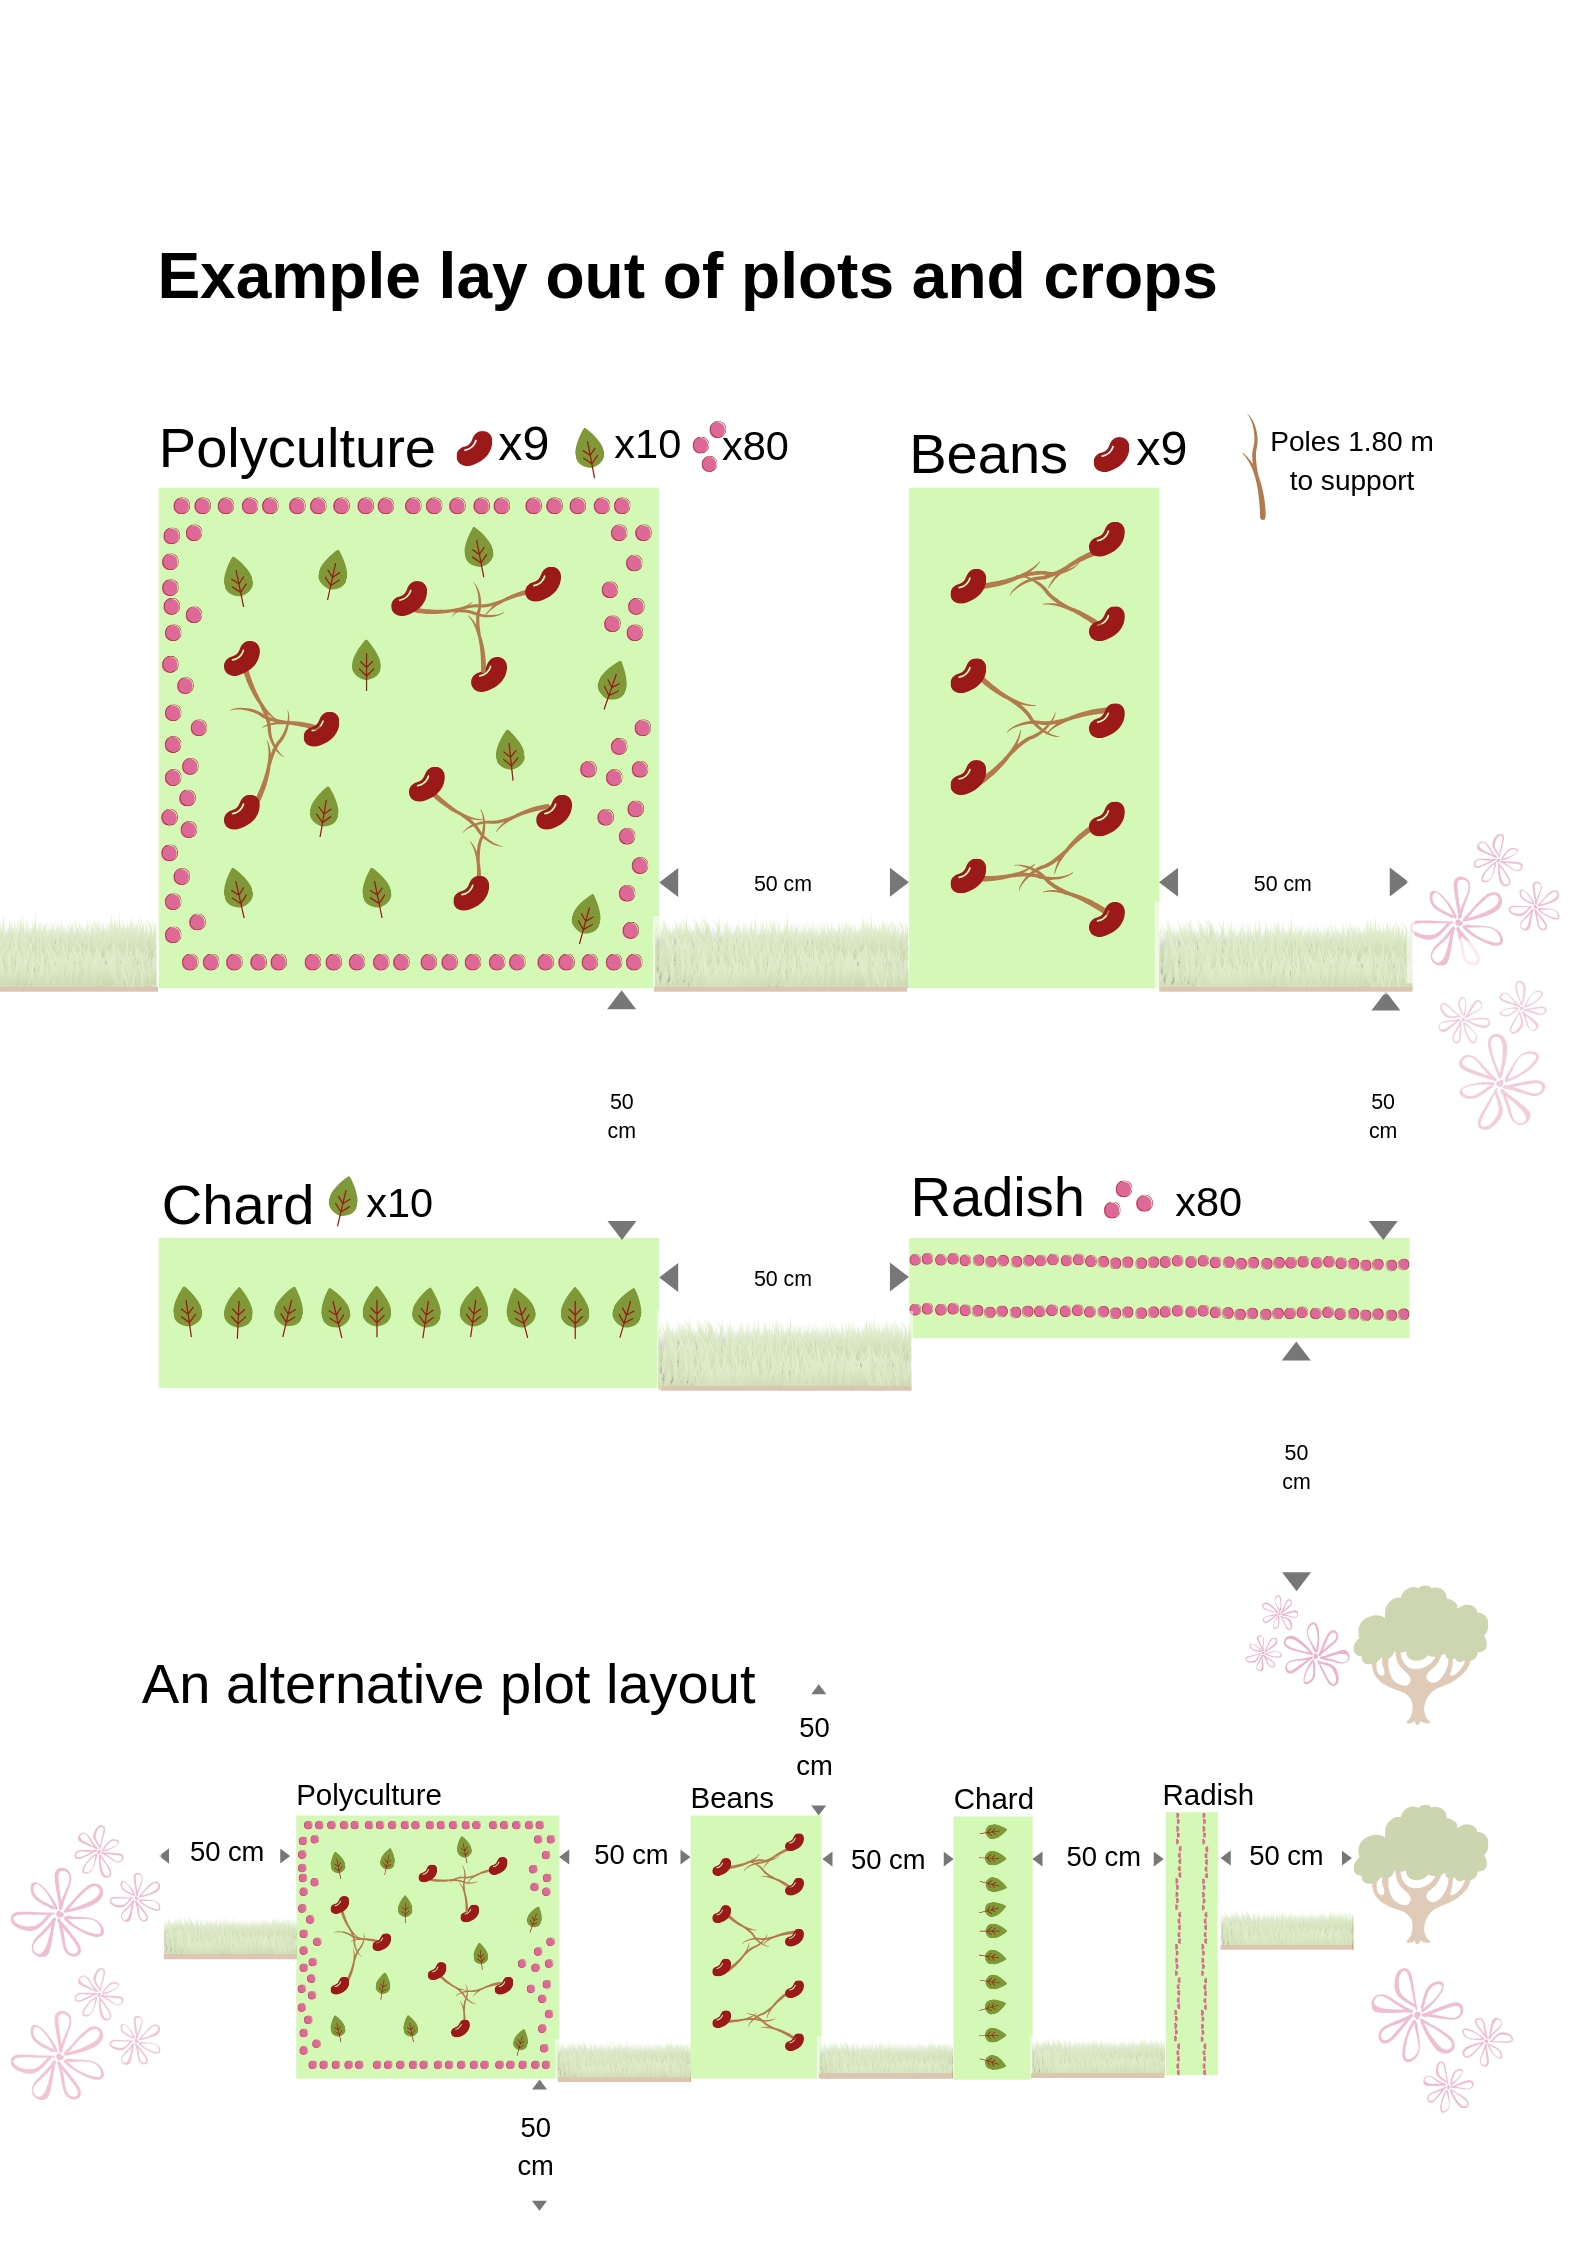
Beans
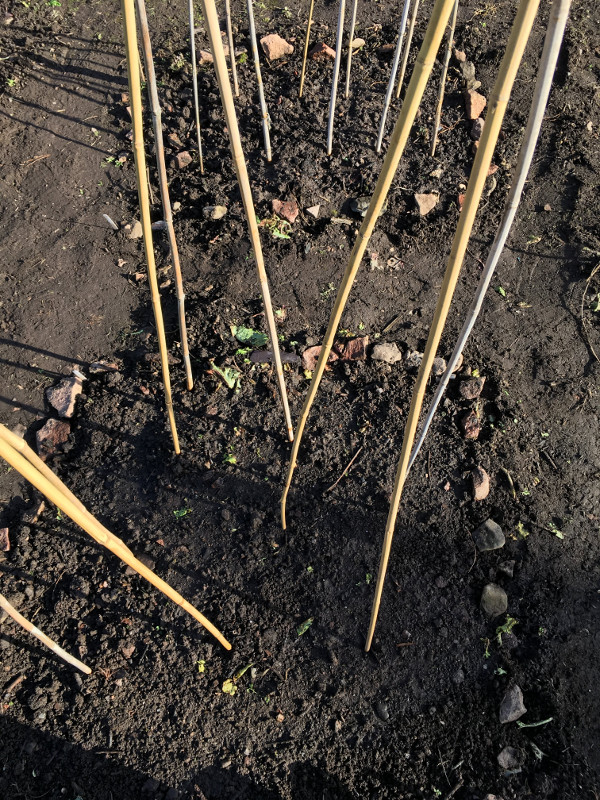
9 beans in the polyculture and 9 in the monoculture. Each bean will need a cane of at least 1.8 metres to support it. Arrange the canes in three sets of three tripods. If you are not yet ready to plant out the beans (it's quite usual to start them in pots inside in cooler climates), still place the bean poles at the start. This will avoid disturbing the roots of your other crops later, and help you remember where to plant the crops.
Monoculture – 1 metre by 50 cm.
About 10-15 cm from the plot edge. One row of 5 and one row of 4 (staggered) with about 25 cm between rows.
Polyculture – 1 square metre.
About 20 cm from the plot edge with 30 cm between the three canes. Leave more space on the sunnier edges (e.g. south) for the shorter veg. Sow and plant out at the same time as in the monoculture.
The photo shows the polyculture in the foreground and the monoculture in the background.
TOP CROP TIP = start beans in pots indoors
Beans are often best started in pots inside. When you plant them out, the risk of frost will be less and the bigger seedlings will be less vulnerable to being eaten by slugs. Plant one per pot about 5 cm deep.
If planting directly in the ground, plant 5 cm deep on the inside of a cane so that they will touch the cane as they grow up.
Rhubarb chard
10 in each plot. Or 20 to start with then thin out to 10.
Monoculture – 1 metre by 30 cm
Two staggered rows 15 cm apart (5 cm from the plot edge). Five plants per row.
Polyculture
Sow at the same time as in the monoculture. Place each seed 25-30 cm away from the bean poles (in the bigger spaces between the tripods, not within a tripod as the beans will shade that space more when they grow). This will give the beans and the chard space to grow. Check the diagrams above for an example.
TOP CROP TIP = Plant extra Swiss chard then thin down to 10 per plot
You might like to plant 10 seeds per row in the monoculture and 20 in the gaps in the polyculture then thin out every other seedling (you could transplant to another part of your garden if you enjoy chard).
This will help avoid germination failure at the start of the experiment and minimise starting differences between the plots.
Radish – 80 in each plot.
Monoculture – 1 metre by 20 cm
Successional sow 10 or 20 at a time every 2-3 weeks.
Polyculture –
Sow 10 or 20 at a time - the same number at the the same time as in your monoculture plot. Sow around the edges so that it's easier to harvest without disturbing your other plants. If you sow radish before chard, mark where you have sown with small sticks so you can sow the chard at least 15 cm away.
TOP CROP TIP = Plant radish a few at a time in sunny spots
Radish love the sun. Locate your monoculture radish plot on the sunnier side of your other plots. In both the polyculture and monoculture, plant the radish around the edges, starting with the shadiest edge (e.g. north, east). By the time you other crops shade them they will be ready to eat.
They grow fast and are best eaten young. Sowing a few at a time means you spread out the harvest and always get tastier ones.